
Storing Logs So They Stay Dry and Ready
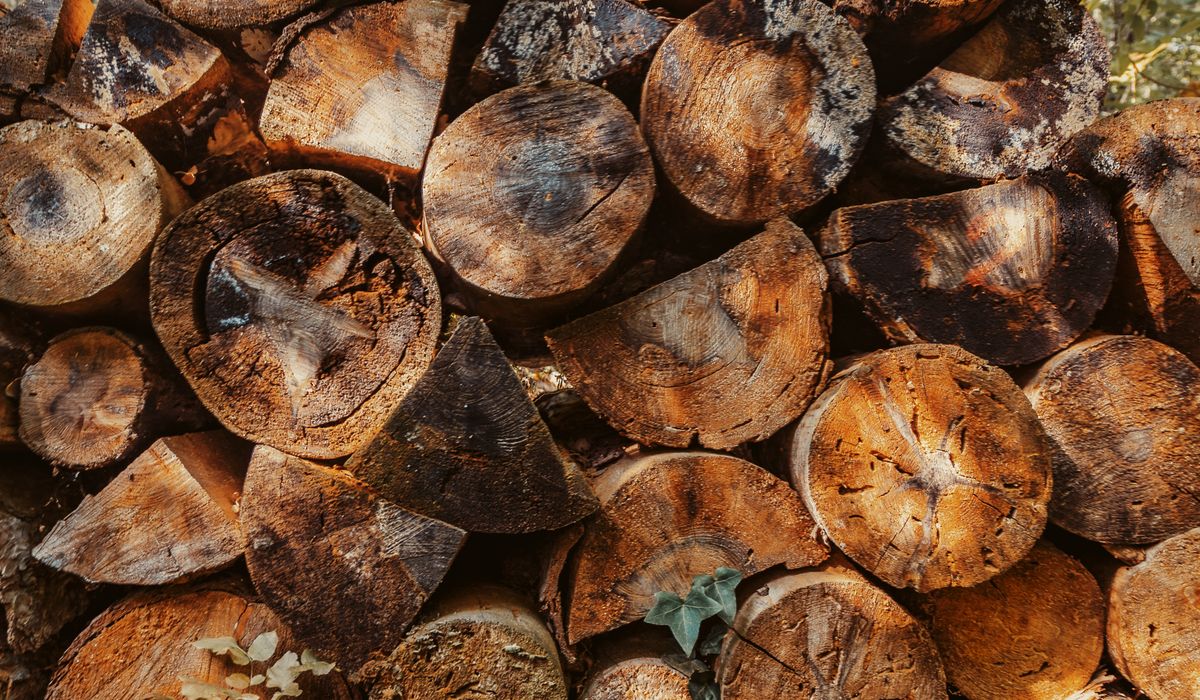
Why Dry Logs Make All the Difference
There is nothing quite like the smell of a woodburner on a damp November evening, but the quality of that fire starts long before the match is struck. Wet wood is the single most common reason a stove underperforms, smokes, and blackens its glass. Freshly felled timber can hold more than half its weight in water, and until that figure drops to around 20 per cent or below, most of your fire's energy is spent boiling moisture away rather than warming the room.
Damp logs also cool the flue gases, which encourages tar and creosote to condense inside the chimney. That is messy at best and a genuine chimney fire risk at worst. Seasoning takes time — generally a year for softwoods such as ash, birch and larch, and up to two years for dense hardwoods like oak — but the way you store the wood afterwards makes an enormous difference to whether it stays dry. A few simple habits will see you through the winter with a stack that lights easily and burns cleanly.
Raise the Stack Off the Ground
Ground contact is the enemy. Soil, grass and even a concrete slab will wick moisture upwards into the bottom of the stack, and those lower logs will often be unusable by February. The fix is a simple air gap of at least 10–15cm between the timber and the ground.
- Wooden pallets laid on bricks or blocks make an excellent, cheap base.
- Pressure-treated bearers or sleepers work well for larger stacks and last for years.
- A proper log store with a slatted, raised floor is the tidiest long-term solution.
Never stack directly onto bare earth or a damp patio. If you are using a pallet, sit it on bricks at each corner so air can circulate underneath rather than trapping a layer of dead air against cold stone. Do check the bottom row every few weeks through the winter — if it feels cold and heavy, the damp has crept in and you need more clearance.
Cover the Top, Leave the Sides Open
A roof is essential, but walls are not. The aim is to keep rain off while letting every breath of wind pass straight through the stack. A tarpaulin thrown over the whole pile and tucked under is the classic mistake: it traps condensation and turns the stack into a mouldy, sappy mess within weeks.
If you are using a sheet, drape it over the top only, weighted down with a couple of logs or bricks, so the sides remain exposed. Leave a hand's width of clearance between the cover and the top of the stack so air can move across the surface. Clear fallen leaves, pine needles and moss off the top regularly, as these hold water against the wood. A store with a solid back and roof but open sides is ideal — but avoid backing it against a damp north-facing wall, which will simply pass its moisture into your logs.
Stacking With Gaps That Actually Work
Air needs to move through the stack, not just around it. Tightly packed logs pressed together create damp pockets that never dry out.
- Leave roughly a finger's width of space between neighbouring logs.
- Alternate the direction of layers at the ends of the row to create a criss-cross effect that lets wind tunnel through.
- Build rows no more than about a metre high, and keep the whole stack narrow rather than deep.
- Stack a single row against a sunny wall if space is short — a lone row dries faster than any other arrangement.
- Keep newly felled wood well away from your seasoned supply so the moisture does not migrate across.
Resist the urge to build a neat, solid cube. A slightly rugged, loose stack with visible gaps will beat a tidy one every time.
Where to Site the Store
Position matters more than most people expect. A spot facing south or west, catching the sun for most of the day and open to the prevailing wind, will dry logs far faster than a shaded corner behind a shed.
Keep the store away from dripping trees, gutters and the lee side of buildings, all of which shed water onto whatever sits beneath them. A gap of a few centimetres between the stack and any wall is worth having, both for airflow and to stop damp transferring from the masonry. If you can, site the store within easy reach of the door you carry logs through — you will thank yourself on a wet night in January.
How to Tell a Log Is Ready to Burn
You do not need a moisture meter to spot good firewood, though a cheap one is a worthwhile buy. Look for pale grey, cracked end grain with visible radial splits. Pick a log up: dry wood feels surprisingly light for its size. Knock two logs together and you should hear a hollow, ringing crack rather than a dull thud. A moisture reading of 15–20 per cent is the sweet spot.
Once the wood is right, look after the hearth itself. Keep a bed of ash around 1–2cm deep to insulate the grate, empty the pan only when the stove is completely cold, and sweep up bark and debris after each burn so nothing builds up around the stove's clearances. Bring in only a day or two's worth of logs at a time — a big indoor pile invites insects and dries so quickly that it burns away in minutes. Stack it right, and the fire will reward you all winter.


Watch for smoky smells, poor draught, soot falling into the stove or a blackened glass, and call a qualified sweep if problems persist.
Fit a suitable cowl or cap to keep out rain, birds and debris while maintaining adequate ventilation for safe and efficient fireplace operation.
Start with dry kindling and small logs, leaving air vents open until the fire is established, then adjust for a steady, clean burn.
Match log length to your firebox and split larger rounds so air can circulate, helping the fire burn hotter and produce less smoke.